by Jesús Zabala - 6 min read
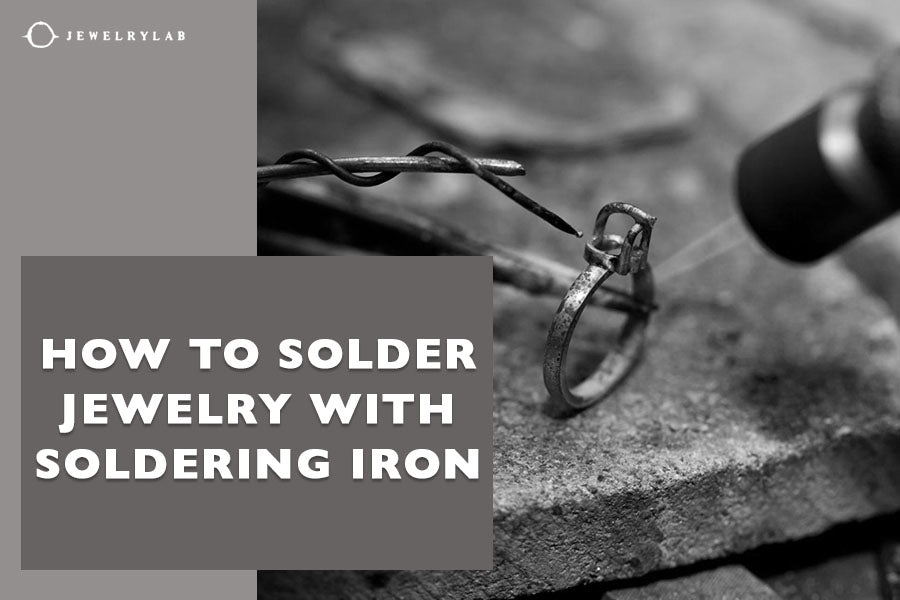
How to Solder Brass Jewelry
Soldering is one of the key processes in jewelry-making and repair. There is much more to the technique than melting and joining metals. All metals are unique and require specific measures to join them. Consequently, to achieve the best results, you must know the exact steps on how to solder brass jewelry.
As experienced metalsmiths, we have created the finest brass jewelry pieces and want to share our tips and techniques. We will help you understand the basics of soldering brass and give you a sneak peek into everything we do to prepare our unique jewelry collections.
How to Solder Brass Jewelry
Our brass jewelry collection is known for its contemporary designs and durability. We use our experience and the best soldering technique for smooth and comfortable joints to make each jewelry piece perfect. In a nutshell, we solder brass by following these steps:
- Gathering the necessary tools and materials
- Preparing the working area
- Forming and cleaning the brass pieces that should be joined together
- Applying flux
- Preparation and application of the solder
- Heating the solder and leaving it to cool down
- Rinse and clean the jewelry piece

Source: shutterstock.com / Photo Contributor: Lakeview Images
Understanding Brass Soldering
Soldering is a process in which we heat a solder to its melting point and use it to create a precise and robust bond between two metals. How well two metal pieces can be joined depends on their solderability and characteristics.
For instance, noble metals have excellent solderability characteristics as they create brittle joints. Others with high thermal conductivity, such as copper, brass, bronze and nickel silver, require high heat input and oxidize quickly, so they require flux application.
Regarding our alloy of choice, brass, it is important for you to familiarize yourself with the properties of the malleable metals before we explain the soldering process in detail. First and foremost, you should know that brass has a low melting point, around 1,710 °F.
The melting temperature will help you pick the right type of solder. Luckily, regardless of brass’s low melting point, you can use both low and high-temperature solder because they typically have melting points ranging between 190 °F and 840 °F.
Moreover, brass is one of the best metals for jewelry making because it is easy to manipulate and shape into different forms. It is also a non-ferrous metal with antibacterial properties, making it a safe and durable option.
Can you solder brass and copper together?
Many inexperienced jewelry makers aren’t sure which metals they can solder. One combination many are curious about is soldering brass and copper.
The characteristics of the two metals allow them to be soldered together. However, special considerations are needed when soldering, one of which is the differences in heat requirements between brass and copper.
Necessary tools and materials
Preparation is key in soldering. Once you start melting the solder and joining the pieces, you should have everything you need within your arm's reach. Let's start with the tools we use:
- Soldering torch or soldering iron
- Soldering pad
- Tweezers
- Hammer
- Metal file
- Abrasive pad
- Alcohol swab
- Pickle pot
- Safety gear, including gloves and soldering glasses
- Wire cutters
As for the materials, the following are essential for soldering brass:
- Solder
- Flux
- Non-toxic pickle
Choosing the right solder and flux
The solder type we use in our brass jewelry-making process is important because it determines the bond’s strength and durability. Different types of solder are available, such as lead-based, lead-free, rosin-core, acid-core, silver-bearing, copper-tin, etc. Among them, copper-tin and silver-bearing solder are good choices for soldering brass.
Since brass oxidizes, the application of flux is inevitable. It is excellent for cleaning the metal surface, prevents oxidation and improves the flow of the solder. The three most common types of fluxing agents are rosin flux, organic acid flux and inorganic acid flux. We choose the flux type according to the solder we use.

Source: shutterstock.com / Photo Contributor: Pavel L Photo and Video
Preparing the workspace
Once all the materials are ready, we ensure our working area is clean and safe for soldering brass. First, we clean our entire surface from dirt and debris. Then, to ensure the area is safe, we check the ventilation and put away all flammable materials.
Next, we prepare the heat-resistant surface where we will solder the brass. We always use a soldering mat, but soldering blocks or fire bricks are also excellent options. Once the area is clean and prepared for work, we organize the tools, ensure enough lighting, and put on our safety gear.
Forming and cleaning the brass pieces
The next step in how to solder brass jewelry is preparing the pieces that need to be joined. Different tools, such as files and cutting tools, might be required as we shape the brass pieces.
When we make jewelry, typically, two pieces need to fit together, and our job is to shape them to fit perfectly together. The forming of the pieces is crucial as it will influence the bond that we will create later with the solder.
After they are shaped, we must clean the brass surface from dirt and grease. Files, sandpaper, emery cloths, and steel wool are common tools used during the cleaning process. Sometimes, we even use alcohol to remove the finest particles.
Applying flux
Incorrect flux application might lead to difficulties in the soldering process. First, the flux must be prepared, and this depends on the flux form we are using.
For instance, paste flux is used directly from the container, while fluxes in powder form should be prepared according to the manufacturer’s instructions. Key considerations for properly applying flux are:
- Using only clean brushes and applicators
- Applying an even layer of flux to the brass pieces
- Avoid applying excess flux, as it will require extensive cleaning.
Preparation and application of the solder
In our long years of experience as metalsmiths, we have learned that it is best to place the solder directly on the parts that we want to join together. We position the brass pieces, and then we use a soldering pick to place the solder directly in the joint.
Heating the solder and leaving it to cool down
Next, we continue heating the solder until it melts and monitoring how the joint is made. The best technique for applying heat to brass is using a soldering torch on the opposite side of the solder location.
We start with low flame settings and increase the temperature accordingly. When the solder starts to flow and spread into the areas where we applied flux, we withdraw the flame. If we are satisfied with the result, we let the jewelry piece cool down naturally without stressing the metal.
Finishing touches
In the final stage of the soldering process, we rinse and clean the jewelry. We might use a pickle solution to remove any flux residue and oxidation and rinse the piece with water. We inspect the joint and polish it if necessary, and it will be ready for you to purchase and wear.
Troubleshooting and Tips for Soldering Brass
We might come across various challenges when soldering brass. The two most common difficulties in brass soldering are:
- Solder not melting freely
- The end design isn’t brassy enough.
When the solder is not melting freely, the first step is to find the cause. This challenge can mean many things, including:
- The wrong solder type is used.
- The joint is not flushed properly.
- The pieces weren’t thoroughly cleaned.
- The solder isn’t making good contact with the pieces of brass.
Generally, if the steps on how to solder brass jewelry are followed, such problems won’t arise. The brass might also not have the shine we want it to have after soldering.
If we have used a pickle solution on the jewelry piece, we will continue solving this challenge by mixing hydrogen peroxide and white vinegar. Then, we soak the jewelry for approximately 20 to 30 minutes, which will look astonishing.
Another trick we like to use to enhance the visual appearance of the brass is to boil it in water instead of using a pickle solution. The water will dissolve the old flux as successfully as the pickle solution, but it won’t pull the zinc off the brass surface, leaving only the copper behind.

Conclusion
The soldering process is an essential part of the jewelry-making process. It influences the durability, strength and aesthetic quality of the pieces.
Now that you have the steps on how to solder brass jewelry, we challenge you to take a closer look at our best-seller brass jewelry collection and try to determine where two metals are joined together. Explore our collection online and experience the seamless beauty of our soldered brass jewelry!


-
 DESIGNED & HANDMADE IN BALI
-
 FREE RESIZING FOR EVERY PIECE
-
 FREE SHIPPING ON $150+ ORDERS
-
 100% SAFE & SECURE CHECKOUT


