by Jesús Zabala - 6 min read
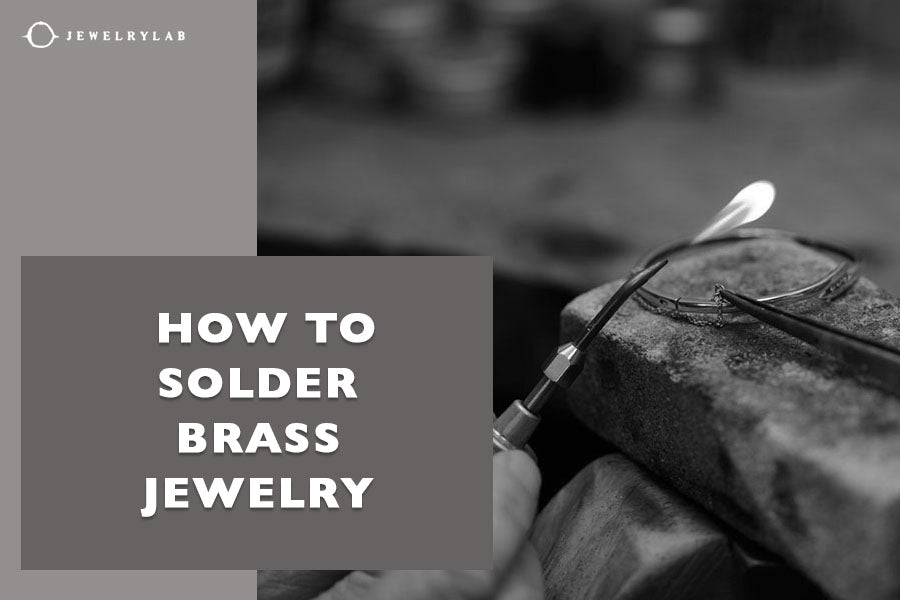
How to Solder Jewelry With Soldering Iron
Soldering jewelry with a soldering iron is an art technique employed in handcrafting jewelry. The technique is easy to grasp, and every beginner can conquer it quickly and take their jewelry creation knowledge to the next level. Thus, if you wonder how to solder jewelry with soldering iron, you are at the right place.
We at JewelryLab decided to bring the soldering iron technique closer to you. In this article, you will learn which soldering iron is suitable for soldering jewelry and what kind of metals and solders you can use. You will also get a complete, detailed guide to the soldering process.
We hope that the tips and tricks you discover here will be useful to you, whether you are an amateur or professional jeweler. Now, if you are ready to start soldering, let's begin!

Source: shutterstock.com/ Photo Contributor: HOMONSTOCK
How to Solder Jewelry With Soldering Iron
The soldering iron: Overview and function
The soldering iron is an electric or gas-heated hand tool used for soldering jewelry. It is used to permanently join two metal parts. It consists of an insulated body with a tip that reaches high temperatures and melts the solder.
What is the solder exactly? Solder is a metal alloy made from two metals, usually silver and copper or silver and zinc.
It is melted with the soldering iron and then placed on the interface of the metal parts that need to be attached when making jewelry. Notably, the solder always has a lower melting point than the metals to safely and permanently join them.
How to choose a suitable soldering iron for jewelry
A soldering iron is an adaptable tool that is elementary in the jewelry production and reparation processes. When you want to try soldering jewelry, you must know that there are different types of soldering irons, each with its purpose.
To put it differently, not all soldering irons are suitable for jewelry making. There are many options, and the soldering iron you pick must have the proper characteristics for soldering jewelry.
So, before explaining how to solder jewelry with soldering iron, we will first assist you in choosing the suitable soldering iron for jewelry making.
Common types of soldering irons
When choosing a soldering iron for jewelry, it's essential to pay close attention to several fundamental attributes of the tool. The best soldering irons for jewelry are those that offer high-temperature ranges, temperature control, and interchangeable tips.
Low-grade soldering irons, designed for simple electronic work and glass staining, only work with lead solder, which has a lower melting point and is poisonous. We never recommend these types of soldering irons, which only reach lower temperatures and are unsuitable for making jewelry.
Instead, the best soldering iron variations used in jewelry are high-quality soldering irons with high wattages, temperature ranges, and melt lead-free solders.
Factors to consider when selecting a soldering iron
Temperature
Powerful soldering irons can produce the finest outcomes and help you perfect your soldering skills. The high wattages enable the soldering iron to reach the desired temperatures and maintain them when melting solders used in jewelry creation.
Therefore, as jewelry makers, we always aim for a quality soldering iron with power between 80 and 100 W. We also consider interchangeable tips and suitable temperature ranges and controls.
Rheostat
Another factor to consider when selecting a soldering iron is whether it comes with a built-in rheostat or if you have to purchase an external one. The rheostat's role is vital in soldering jewelry because it allows you to control the temperature of the soldering iron and maintain stability and consistency.
Soldering tip
Pencil-style smaller tips are great for finer jewelry work and are full of unique details. They are made for precision work and smaller areas, making it easier to keep the heat where you need to without messing up the surrounding areas.
On the other hand, the chisel tip is another one used in jewelry making. This versatile tip can be rotated and has a larger surface area.
It's also great for more extensive and consistent heat transfer, making it ideal for component soldering and wire connections. As a jewelry creator, it's best to always have both these tips at hand and change them depending on your work.
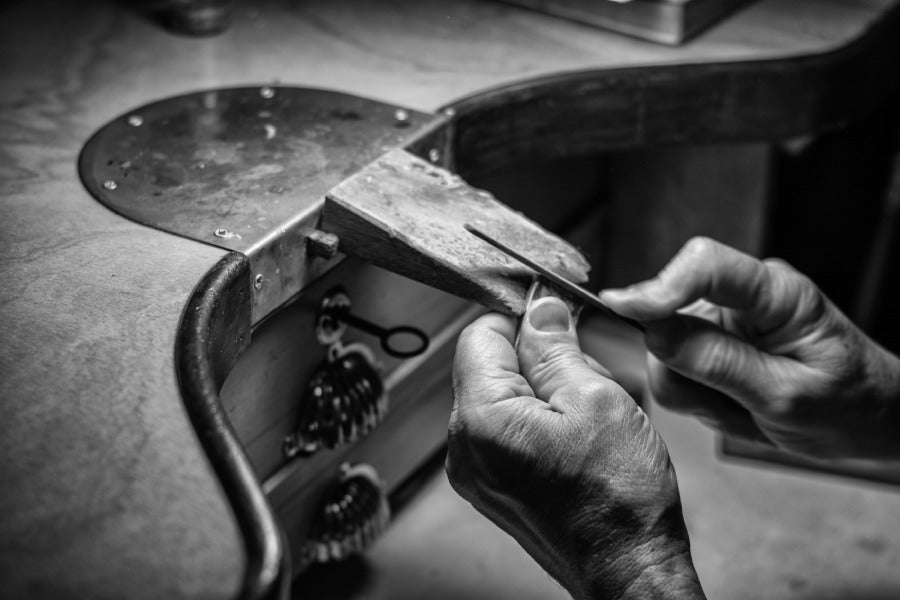
The process on how to solder silver with a soldering iron
Gathering materials
When soldering jewelry, you must first make sure that you have all of the materials and tools for the process. That includes soldering iron, solder, flux, soldering surface, tweezers, goggles, and protective gloves.
Metals and solder types
Different types of metal require a distinct solder and temperature. There are three types of solder: hard, medium, and soft, and each type requires a different temperature to flow.
The type of solder you use depends on how many times you will be soldering the piece. If you are soldering more than once, it's best to begin with a hard solder and finish with a soft solder to prevent the previous joints from melting.
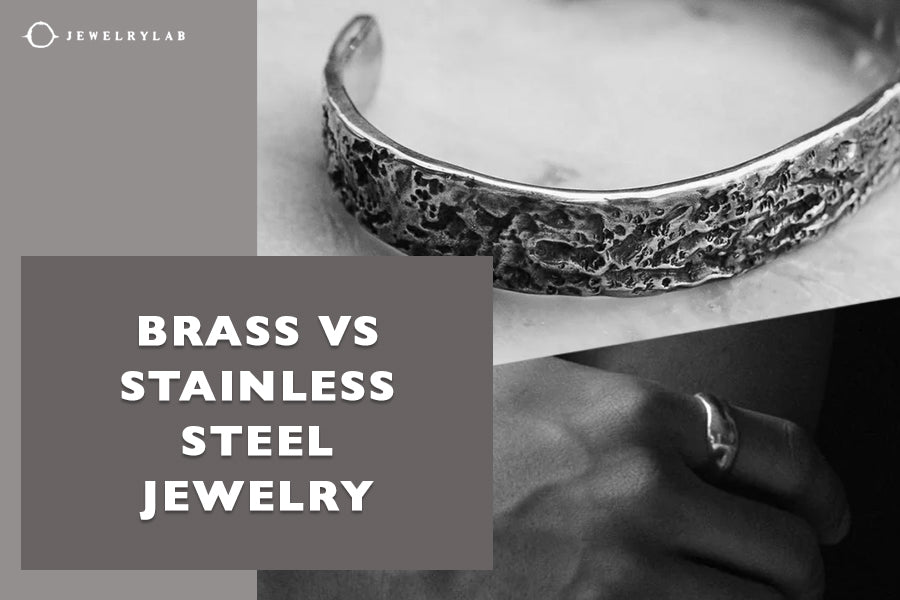
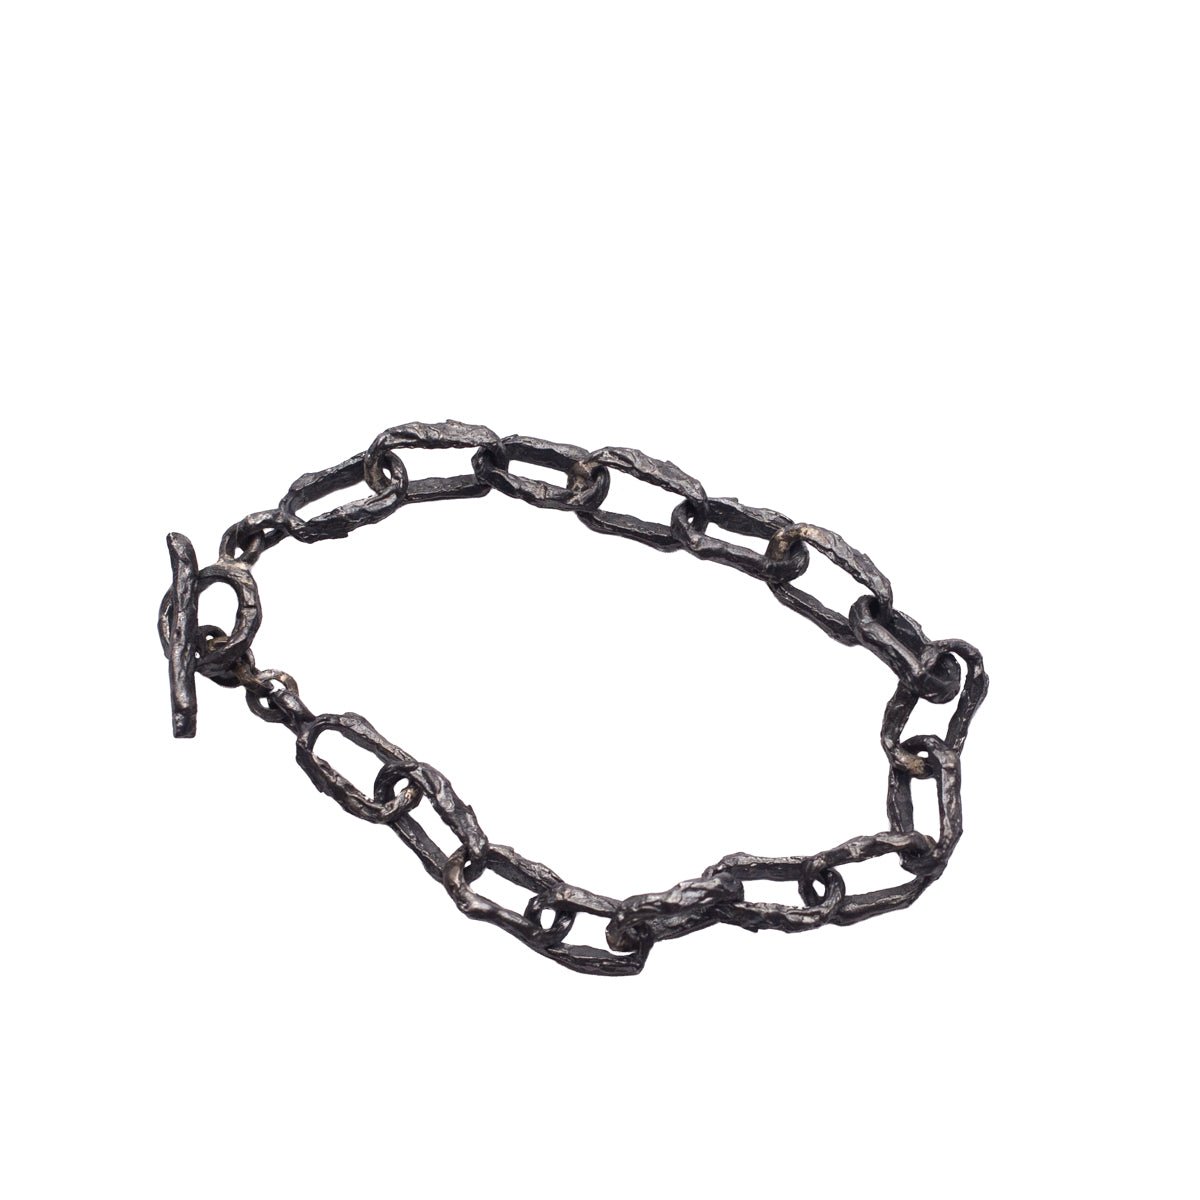
The soldering iron can be used to solder metals such as copper, brass, bronze, or stainless steel, as some of our products like the Thin Textured Minimal Bracelet. But what about silver?
Unfortunately, we don't recommend soldering silver with a soldering iron. Instead, we use a gas torch to reach the appropriate temperature and join the parts correctly and permanently.
Cutting and positioning
When you have all of the materials and have decided what kind of metal and solder you are going to use during your soldering journey, it's time to begin. First, cut the solder into small pieces called paillons. Once you have cut them, place them carefully where the two metals need to be connected.
For placement, it's best to use tweezers or a pick. The position of the paillons should be precise because only then will the join of the metals be clean and robust.

Flux and heat
When you have arranged the solder and the metal, apply the flux. The flux should prevent oxidation and enable the solder to flow correctly at high temperatures.
Heat the metal pieces and the solder evenly to achieve a smooth and adequate flow. The flux will start to change, become bubbly, and then clear up. When the flux is clear, it's the best time to apply heat on the solder.
Soldering and flow
With heat applied, the solder starts changing its form. At first, it will appear shiny and then start to flow. If, in any case, the solder isn't flowing, stop applying heat and let it cool down. Then, clean the piece and start again.
The soldering technique with a soldering iron requires skill, which can only be achieved with patience and work. In time, you will understand when to stop heating so as not to overheat the piece or burn the solder.
Likewise, it will take some time to learn how to get a perfect flow. Don't get down if you don't succeed from the start. When you learn how to work with your materials and practice the technique regularly, we are sure you will master soldering quickly.
Cleaning
You will notice that the piece you solder might have flux and oxidation remains after soldering with a soldering iron. That's why it's necessary to learn how to clean the item.
For cleaning after soldering, we, as jewelers, use a unique cleaning solution called pickle, which removes dirt and any leftovers. All you need to do is dip the piece you have created into the solution and cleanse the residue.
Finishing touches
Scrutinize the piece and see if everything is as you want it to be. If not, prepare to resolder it.
On the other hand, when everything is as you hoped, apply some finishing touches. Files, sandpaper, or polishing tools can all tend up the piece further and make it polished and visually attractive.
Safety precautions when using soldering iron
It is best to always practice safety when soldering jewelry with a soldering iron. The heat itself poses a risk, and it can result in burns or injuries if you don't use the right equipment settled in the proper working place.
As mentioned above, soldering with a soldering iron requires wearing heat-resistant gloves and protective eyewear. Moreover, always work in a ventilated room, free from flammable materials.

Conclusion
We are confident that this article has brought soldering with a soldering iron closer to you and that you now have the correct answers to your soldering questions. As you have noticed, soldering isn’t complicated at all, and every jewelry-making enthusiast can learn how to solder jewelry with soldering iron.
All you need to do is gather the right tools, learn the metals and solder types, understand heat application and control, and clean and correctly handle your pieces. Of course, practice makes perfect, so don’t forget to put a lot of your creativity, patience, and work into mastering this valuable and fun jewelry-making technique.


-
 DESIGNED & HANDMADE IN BALI
-
 FREE RESIZING FOR EVERY PIECE
-
 FREE SHIPPING ON $150+ ORDERS
-
 100% SAFE & SECURE CHECKOUT


