by Jesús Zabala - 7 min read
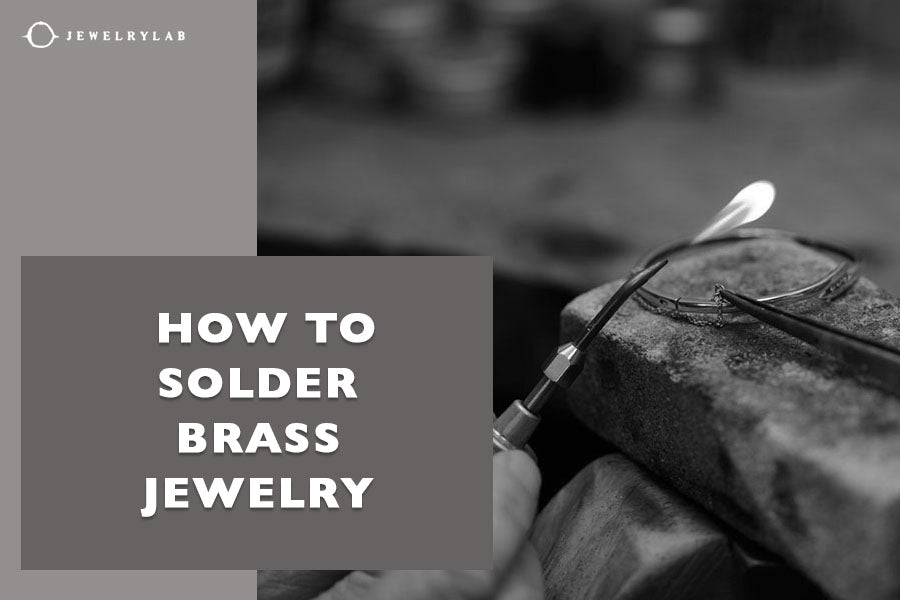
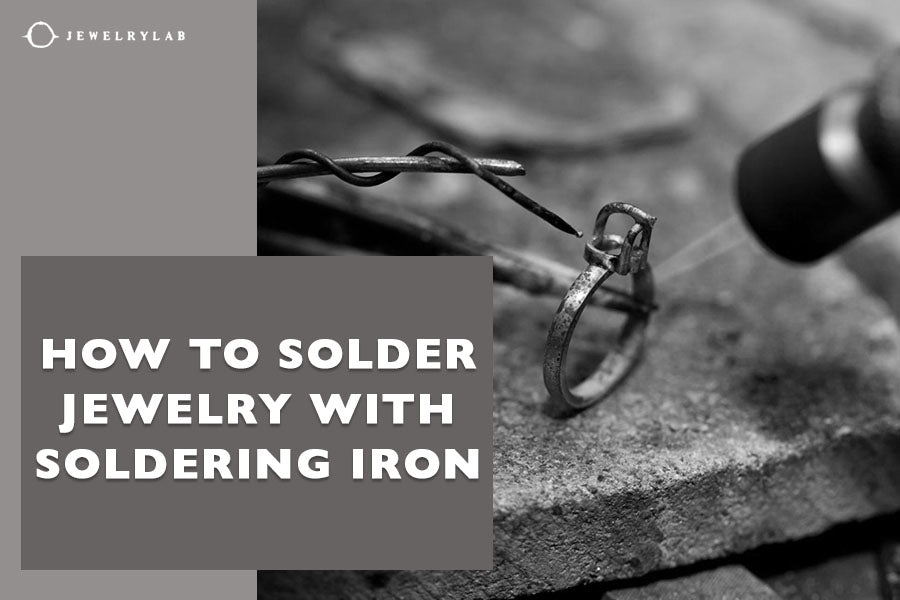
How to Solder Silver Jewelry
Silver jewelry has been praised for its mesmerizing shine and elegant look for a long time. While many people tend to overlook the masterful craftsmanship behind it, our team at JewelryLab draws inspiration from the old masters and is on a mission to hone this art. That’s why we want to show you how to solder silver jewelry and the details behind it.
While it may sound simple at first, there are a lot of small details one should keep in mind during the soldering process. Since many people are only looking for a solution on how to fix a broken sterling silver ring or necklace, the difficulty of the soldering technique is often undermined.
Continue reading to discover the ins and outs of soldering silver jewelry pieces and the important steps in the process!

How to Solder Silver Jewelry
So, can a silver chain be soldered? Simply put, yes. You can solder your silver jewelry. That being said, here are the necessary steps on how to solder a silver ring or other pieces of jewelry:
- Gathering the necessary tools and materials
- Preparing the workspace
- Preparing the jewelry pieces
- Applying flux
- Heating and soldering
- Cooling and cleaning
1. Gathering necessary tools and materials
The first step in starting a silver jewelry soldering process is ensuring you have all the necessary tools and materials. As mentioned, soldering requires a lot of attention to detail.
Thus, there are various tool types you should acquire beforehand. The most important tools you should have for this process are the following:
- Solder
- Soldering surface
- Soldering pick
- Torch
- Tweezers
- Flux
- Pickle
- Container
Solder
The main material you need for soldering silver jewelry is the solder itself. Silver solder comes in different forms, including wire, chips, and sheet, and usually contains silver, copper, and zinc alloys. Furthermore, it comes in three grades based on the melting temperature, divided into soft, medium, and hard solder.
We recommend beginning with a soft solder if you’re just starting and have no prior soldering experience. Since it’s easier to melt, you’ll be able to quickly solder the material while also having a good feel for the process.
Soldering surface
The second necessity for silver soldering is a soldering surface. This will be the designated work area where you’ll be applying heat, so it must be capable of withstanding the torch flame. Even though choosing the right soldering surface comes down to preference, some of the most common options are charcoal and magnesia blocks, mesh screen and tripod, and ceramic board.

Soldering pick
The soldering pick adjusts the jewelry or solder while it’s still hot. It looks like a long, thin steel rod and is usually cheap. Regardless of your choice, it’s important to note that the soldering pick should always be held in the dominant hand to prevent your fingers from getting burnt on the hot metal.
Torch
Since the solder and jewelry have to be heated, you must ensure you have a torch. Remember that this tool emanates heat and can burn you if you don’t hold it away. While choosing the suitable torch comes down to personal preference, remember to invest in butane canisters.
Tweezers
Tweezers are an essential part of the soldering process because they hold hot pieces in place. You can also use them to adjust the solder when needed. However, if you’re expecting a longer soldering process, try investing in ones with wooden grips to protect your fingers.
Flux
Since flux is considered an oxygen-reducing agent, it assists with heat transfer and cleaning the silver's surface. The main difference lies in their application, as liquid and paste flux are the two most common types. While the paste is applied with a toothbrush only on the desired parts, the liquid is applied like a spray and usually covers the whole product.
Pickle
The next important tool you need is pickle and it’s used to dissolve flux and oxides after the soldering process. This weak acid is usually dissolved in water to remove the red, black, or orange stain effects that usually appear on the silver.
It’s crucial to note that you should never put anything of steel in the pickle since it’s reactive and can damage it. Thus, we recommend you invest in copper thongs to place or remove the silver item from the pickle.
Container
The last piece of equipment you need is a plastic or ceramic container. This is where you’ll add the pickle and clean the silver jewelry. Remember to avoid using metal containers because the pickle is reactive with steel.
2. Preparing the workspace
After you’ve acquired all the needed tools, the next step is to prepare the workspace. Since you’ll be dealing with molten metal and an open flame, it’s extremely important to take the necessary precautions and ensure your safety.
First, you should focus on where you’ll be soldering. A sturdy table covered with a protective layer is the best way to avoid damaging its surface. Some of the best options we recommend are aluminum, big wooden blocks, and big ceramic tiles that have to be secured so they don’t move during the process.
Next, you should ensure there aren’t any flammable materials nearby. We recommend not having any objects within a 3-foot radius to avoid damaging them with the torch. Plus, having a well-ventilated area is a must, so take the time to decide on the ideal place.
After you’ve secured the space, it’s also important to practice personal safety. Thus, investing in safety glasses and an apron will protect your eyes and body.
3. Preparing the jewelry pieces
Before you start soldering, you should always prepare the jewelry pieces. If your accessories have been worn and appear oily, clean them with a degreasing solution. You can use various household items, including baking soda, vinegar, lemon juice, and toothpaste.
Then, you can use sandpaper on the surface you’re about to join to make it rougher and easier to solder. If you notice any oxidation on the silver jewelry’s surface, consider placing it in the pickle to achieve a more desirable outcome.
4. Applying flux
The next step is to apply the flux. Depending on the flux you’ve purchased, it’s important to follow any instructions included in the packaging.
As mentioned, if you’ve chosen a paste product, you’re supposed to apply it with a small brush. Most people only cover the area where the solder will be present to prevent it from flowing in the wrong direction. More experienced jewelry workers may apply the flax in a wider area to prevent fire damage, but you should avoid this if you don’t have any prior experience.
Pro-tip: Put a small amount of this product in a separate container to avoid contaminating the original packaging.
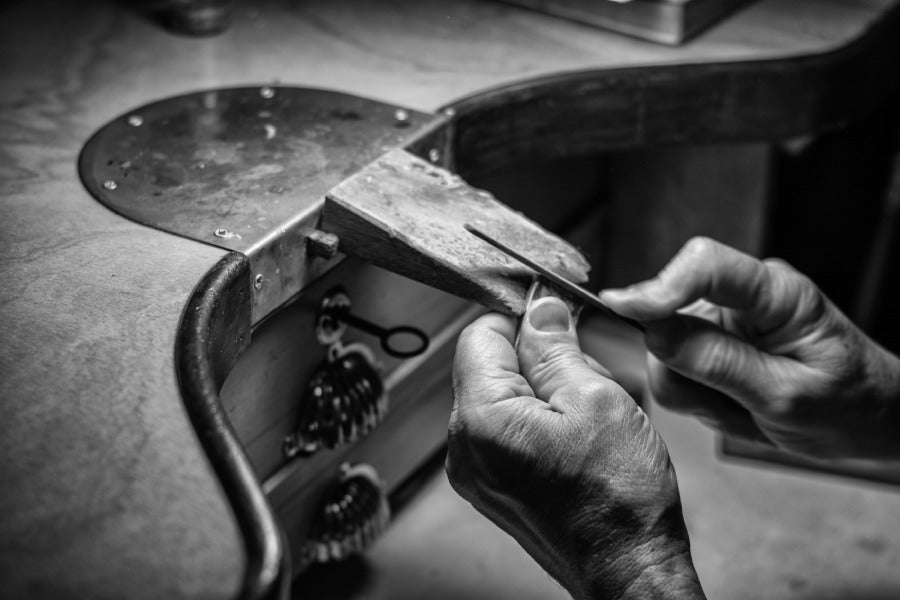
5. Heating and soldering
Now that you’ve taken the necessary precautions, you can begin the heating and soldering process. Before turning on the torch, ensure that the two silver pieces are positioned to be easily soldered. Then, take the tweezers and add solder to the gap or crack you want to join.
Once the solder is placed as you wish, you begin heating it with the torch. Remember that when the solder begins melting, it’ll be drawn to the area where the flux was applied. Therefore, you don’t have to apply heat throughout the entire item.
It’s important to hold it with the tweezers to heat the silver jewelry without burning yourself. Then, you adjust the torch to the maximum heat and slowly start turning the silver chain link or ring in circles to heat the components evenly. The ideal distance to hold the torch is around 4 inches from the joint for the best results.
If you notice the sterling silver isn’t heating up, don’t be scared to move the torch flame closer. Remember that your goal is to heat the jewelry, not the solder itself. If one of the items is thicker, heat it longer from the back to even them out.

6. Cooling and cleaning
Once you’ve finished soldering, allow the silver jewelry enough time to cool down. If you want to accelerate this process, you can quickly cool it down in a water container.
Then, you can take out your copper thongs and carefully lower the jewelry into the pickle solution. Be careful not to get any acid on your skin, clothes, or additional tools to prevent damage. This step will clean the silver jewelry from any leftover flux and oxidation.
When thoroughly cleaned, rinse the silver accessory with water once more and dry it with a clean cloth. And voila! You’ve finished your first soldering project.
Conclusion
After discovering how to solder silver jewelry, remember that this process requires undisturbed focus and attention to detail. Before starting your first soldering project, invest in all the needed equipment. Besides the soldering tools, ensure you have protective gear such as safety glasses and an apron.
Keep in mind that soldering requires handling hot objects and melting solder, so you have to be careful. Overall, it might be best to contact a professional jeweler if you want to achieve the best results and avoid the DIY struggle.


-
 DESIGNED & HANDMADE IN BALI
-
 FREE RESIZING FOR EVERY PIECE
-
 FREE SHIPPING ON $150+ ORDERS
-
 100% SAFE & SECURE CHECKOUT


