by Jesús Zabala - 4 min read
How to Make Sterling Silver Rings?
Sterling silver is a popular jewelry choice. With the rising popularity, many are interested in discovering ways how to make sterling silver rings on their own. Luckily, with the right equipment, step-by-step instructions, and great attention to detail, anyone can make a sterling silver ring.
Let’s dive into the world of sterling silver jewelry, where we will give you a step-by-step guide on how to make sterling silver rings at home and show you what tools and techniques you need.
How to Make Sterling Silver Rings?
Designing your sterling silver ring, the tools needed, measuring, sculpting, cutting, shaping, and finishing the ring are just a few steps needed for incredible results. Below we’ll elaborate on each step distinctly to help you create your very own sterling silver ring.
Designing your sterling silver ring
Designing your sterling silver ring is probably the most exciting step in your silversmithing journey. First, you need to get inspired to create your ring design. We advise you to scroll through online galleries or browse jewelry shops if you have no prior idea. You can also get inspiration from shapes and motifs from nature. It is important to design something meaningful for you.
After covering these steps, you can proceed to sketching. Explore many designs and play with different elements until you get the perfect ring. Don’t be afraid to experiment. The more you experiment, the better the design.

List of essential tools for making sterling silver rings
- Ruler
- Paper
- Marker
- Scissors
- Tape (optional)
- Ring sizer (unnecessary if you know your ring size)
- Sterling silver
- Wooden block (with a V cut on one side)
- C-clamp
- Block of wax
- Saw
- Ring clamp
- Large file
- C-block
- Metal mallet
- 4 inches of sterling silver wire
- Pliers
- Fire brick
- Flux
- Tiny paintbrush
- Torch lighter
- Torch
- Tongs
- Water
- Pickle
- Ring mandrel
- Polish wheel
-
Decorative elements, like gemstones, beads, wire (optional)
Step-by-Step Guide to Making a Sterling Silver Ring
Size your finger
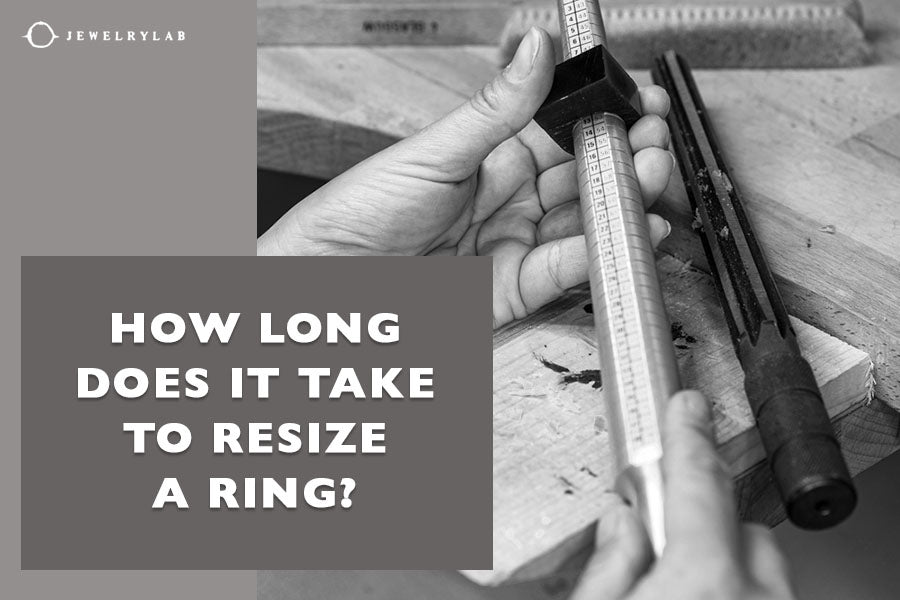
If you know your ring size, you can proceed to the cutting and shaping of the ring. But, if you are unsure about your ring size, use a ring sizer or try some of the DIY methods for ring measurement.
The easiest way to measure your finger is using a measuring tape. Simply wrap the measuring tape in a circle around your finger and move it across your knuckles, ensuring it fits comfortably. Find your ring size using a size measuring guide.
Cutting and shaping the silver
To start the cutting and shaping of the silver, put a wooden block on a table’s edge. Clamp it to the table with a C-clamp, then use a saw blade and run it through the wax. Start sawing up and down and take the wedge off of the ring clamp. Then, put the rectangle of sterling silver in one end of the ring clamp. Make the edges as straight as possible with the large file. Now, set the C-block on the table and put one end of the rectangle of sterling silver on the smallest C on the C-block. Then, lightly hit the sterling silver with the metal mallet.
Turn the rectangle to place the other end in the smallest C. Lightly hit the sterling silver with the metal mallet again.
Now, cut about 4 inches of the sterling silver wire and wrap the wire around the band. Line up the ends as best as possible. Remember, once you pool the ends of the wire around the bend, twist them with players.

Soldering
Start the process by putting the band on a fire brick or any other fireproof surface. With a tiny paintbrush, brush enough flux to cover the ends of the band. Put solder pieces where the bend ends meet and turn on the torch gas. Finally, take the band with the tongs and dip the band in a container of water.
Adding decorative elements (optional)
At this step, you should decide which decorative elements you want to add. Once you do that, use pliers to attach the decorative elements.
Refining and finishing the ring
- Shape the ring using the ring mandrel.
- Polish the band using a polish wheel.
Tips and Techniques for Successful Ring Making
First, we recommend practicing basic techniques before trying to create complex designs. We suggest doing a simple band ring first, and once you get familiar with the process, continue with more complex designs. Before jumping to more advanced techniques, ensure you master sizing, soldering, and polishing.
Furthermore, you need to pay attention to the thickness and gauge of the silver. The silver gauge significantly impacts the ring's overall look and feel. The thicker the gauge, the better the durability, but at the same time, the more challenging to work with.
If you are a jewelry-making beginner, we advise taking a workshop or asking for advice or supervision from an experienced jeweler or silversmith. Remember that learning how to make rings successfully takes time, practice, and patience. It is important not to get discouraged if your first attempts are unsuccessful.

Conclusion
Following the methods on how to make sterling silver rings will help you create a beautiful DIY ring. Remember that first you need to take all the necessary tools and start by sizing the ring (if you do not already know your size.) Then, proceed with cutting and silver forging, adding decorative elements, if you want to, and refining and finishing the final product. Enjoy the procedure!
-
DESIGNED & HANDMADE IN BALI
-
FREE RESIZING FOR EVERY PIECE
-
FREE SHIPPING ON $150+ ORDERS
-
100% SAFE & SECURE CHECKOUT

